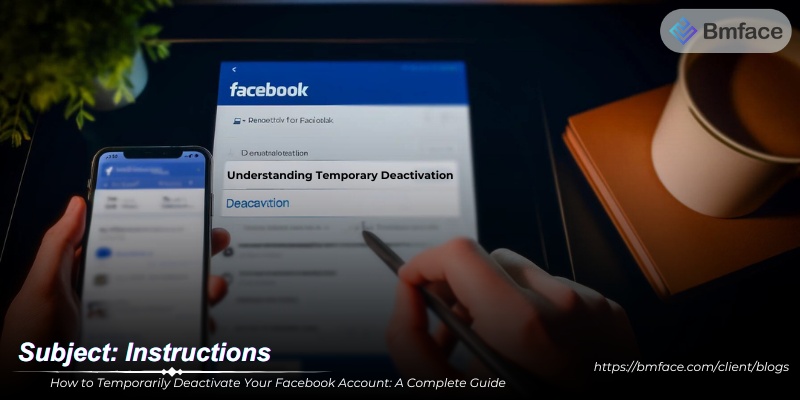
Taking a break from Facebook can help you focus on other aspects of your life without permanently losing your social media presence. This step-by-step BMface guide explains how to temporarily disable your Facebook account, ensuring you can get back to your digital life whenever you're ready.
Understanding Temporary Deactivation
Deactivating your Facebook account is a reversible process that allows you to temporarily remove your presence from the social network without permanently deleting your information. Here's a closer look at what happens when you deactivate your account and a step-by-step guide on how to do it:
What Happens When You Deactivate Your Account
-
Profile Visibility: Once deactivated, your profile will no longer be visible to other Facebook users. This means that people won't be able to search for you, view your profile, or see any of your posts or activities on Facebook.
-
Removal of Name and Photos: Your name and photos will be removed from most of the content you've shared on Facebook. This includes things like your name appearing in friends' lists of friends or your photos being attached to tagged posts. However, certain information, like your name in their friends' lists and messages you've sent, may still be visible to others.
-
Messages Remain Visible: It's important to note that deactivating your account does not delete the messages you've sent. Your friends may still be able to see the messages you've exchanged with them.
-
Reactivation: You can reactivate your account at any time by simply logging back in with your email address and password. Upon reactivation, your profile will become visible again, and you'll regain access to Facebook as if you never left.
Step-by-Step Guide to Deactivation
Deactivating your Facebook account can offer a much-needed break from social media without the permanence of deleting your account. Whether for personal wellness, focusing on offline activities, or simply taking a hiatus, the process is designed to be straightforward, preserving your data for when or if you choose to return. Here's a concise guide on how to temporarily deactivate your Facebook account:

1,Accessing Account Settings
- Log into Facebook: Use a desktop browser for easier navigation. Log into your Facebook account with your credentials.
- Navigate to Settings: Click the dropdown arrow in the top right corner of your Facebook page. Select "Settings & Privacy" and then click on "Settings."
2, Initiating the Deactivation Process
- Your Facebook Information: On the left sidebar, find and click on "Your Facebook Information." Then, look for and select "Deactivation and Deletion."
- Choose Deactivation: From the options presented, choose "Deactivate Account" and proceed by clicking "Continue to Account Deactivation."
3, Completing the Deactivation
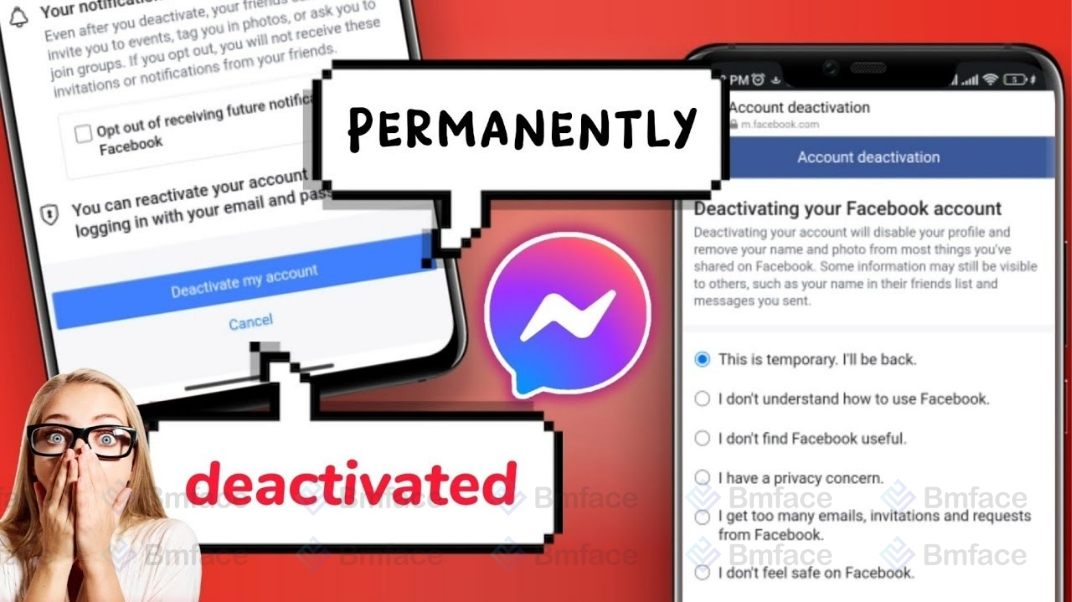
- Confirm with Password: For security reasons, Facebook will prompt you to enter your password again. After entering your password, you’ll be directed to a page that asks why you're deactivating your account.
- Select a Reason for Deactivation: Choose the most applicable reason for your deactivation. Options range from taking a break to other personal reasons. You also have the choice to opt-out of receiving future emails from Facebook and decide whether you want to continue using Messenger.
- Finalize Deactivation: Click "Deactivate" at the bottom of the page to complete the process. Your account is now deactivated, making your profile invisible on Facebook.
Reactivating Your Account
Reactivating your Facebook account is a straightforward process designed for users who have previously chosen to deactivate their account for personal reasons. Whether you've taken a break for mental health, to focus on work, or simply to spend less time online, returning to Facebook and restoring your account is hassle-free. Here’s what you need to know about reactivating your account:
1, How to Reactivate Your Facebook Account
-
Log In: Navigate to Facebook’s login page using a web browser or open the Facebook app on your mobile device.
-
Use Your Credentials: Enter the email address or phone number associated with your deactivated account, followed by your password.
-
Access Restored: Once you've successfully logged in, your Facebook account will be automatically reactivated. This means your profile, along with all your friends, photos, posts, and interests, will be restored exactly as you left them.
2, Things to Keep in Mind
-
Immediate Reactivation: Reactivation is immediate, although in some cases, it might take a little time for all your photos and information to reappear as they were.
-
Messages and Interactions: Messages you've sent to friends or posts you've made in groups during your deactivated period will remain invisible until your account is reactivated.
-
Using Facebook to Log in to Other Services: If you've used your Facebook account to sign up for other apps or services, logging back into those services with your Facebook credentials can also reactivate your Facebook account.
-
Privacy Settings: Upon reactivation, it might be a good time to review your privacy settings and ensure they still align with your preferences for sharing and communication on the platform.
Reactivating your Facebook account is designed to be as effortless as possible, ensuring that taking a break from the platform doesn't have to mean losing your digital memories or connections. Whether your hiatus was short-lived or extended over months, returning to Facebook means picking up right where you left off, with your digital social circle and content intact. It’s a testament to the platform’s understanding of the varied reasons users might need to step away temporarily and its commitment to making re-entry smooth and stress-free.
Conclusion
Temporarily deactivating your Facebook account is a user-friendly process that allows for a temporary disconnection from the platform. This option is ideal for those looking to take a break without losing their digital presence and memories stored on Facebook. Reactivation is hassle-free, ensuring that your return to the social media world is smooth and welcoming whenever you're ready. Remember, the control is in your hands, and you can return to Facebook at any time by simply logging back in.
Don't forget to follow Bmface and tutorial blog to update more interesting content!
Cảm ơn bạn đã theo dõi bài viết. Mua hàng tại Bmface.com để ủng hộ đội ngũ Admin viết thêm nhiều bài viết hay. Xin cảm ơn!


